Garage door side springs, also called extension springs, help lift and balance your door’s weight. They’re mounted on either side of the door tracks and stretch as the door closes, storing energy that helps lift the door when opening.
If these springs become weak or break, your garage door may not open properly or could slam shut, making it unsafe to use.
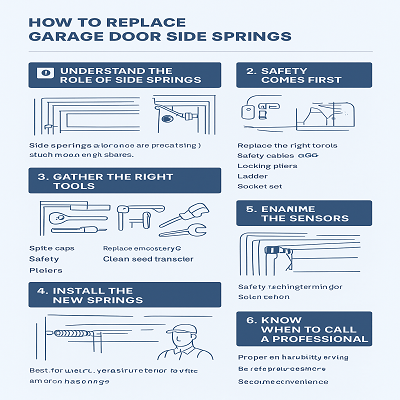
Replacing garage door springs can be dangerous because they’re under heavy tension. Before you begin:
Unplug the opener and disconnect it from the door.
Keep the door fully open to release spring tension.
Secure the door with clamps or locking pliers on the tracks.
Always wear safety gloves and eye protection.
If you’re not confident, call a garage door professional — incorrect installation can lead to injuries or serious damage.
Before starting, make sure you have:
Replacement extension springs (matching the old ones in size and tension)
Adjustable wrench
Safety cables
Locking pliers
Ladder
Socket set
Open your garage door completely and clamp it in place.
Detach the safety cable running through the spring.
Carefully unhook the old spring from the track hanger and pulley system.
Check all brackets, pulleys, and cables for wear before installing the new spring.
Attach the new extension spring to the same hooks and pulleys as the old one.
Re-thread the safety cable through the center of the spring.
Make sure all connections are tight and secure.
Remove the clamps from the tracks and test the door manually — it should lift smoothly and stay halfway open on its own.
If the door opens too quickly or too slowly, the spring tension may need adjusting. Add or remove tension carefully by repositioning the hook on the track bracket. Small changes can make a big difference.
While replacing side springs is possible for experienced DIYers, improper installation can lead to severe injuries or garage door damage. If your springs are tangled, rusty, or the cables are frayed, contact a licensed garage door repair technician for safe and reliable service.